
Beginner's Guide to Applique
Beginner's Guide to Applique
The Art of Applique: A Comprehensive Guide for Beginners
Applique, a classic sewing technique involving the layering and stitching of fabric pieces to a base fabric, offers a unique opportunity to explore creativity in textile crafting. This versatile method allows crafters to create intricate and colorful designs on quilts, clothing, and home décor items. If you’re a beginner looking to dive into the world of applique, this guide will walk you through the basics, ensuring a smooth and enjoyable crafting experience.
Understanding Applique
Applique comes from the French word appliquer, which means "to apply" or "to put on." It involves sewing smaller pieces of fabric onto a larger background fabric to form patterns or pictures. This technique can be found in various cultural traditions worldwide, each adding its unique twist to the craft.
Materials You Will Need
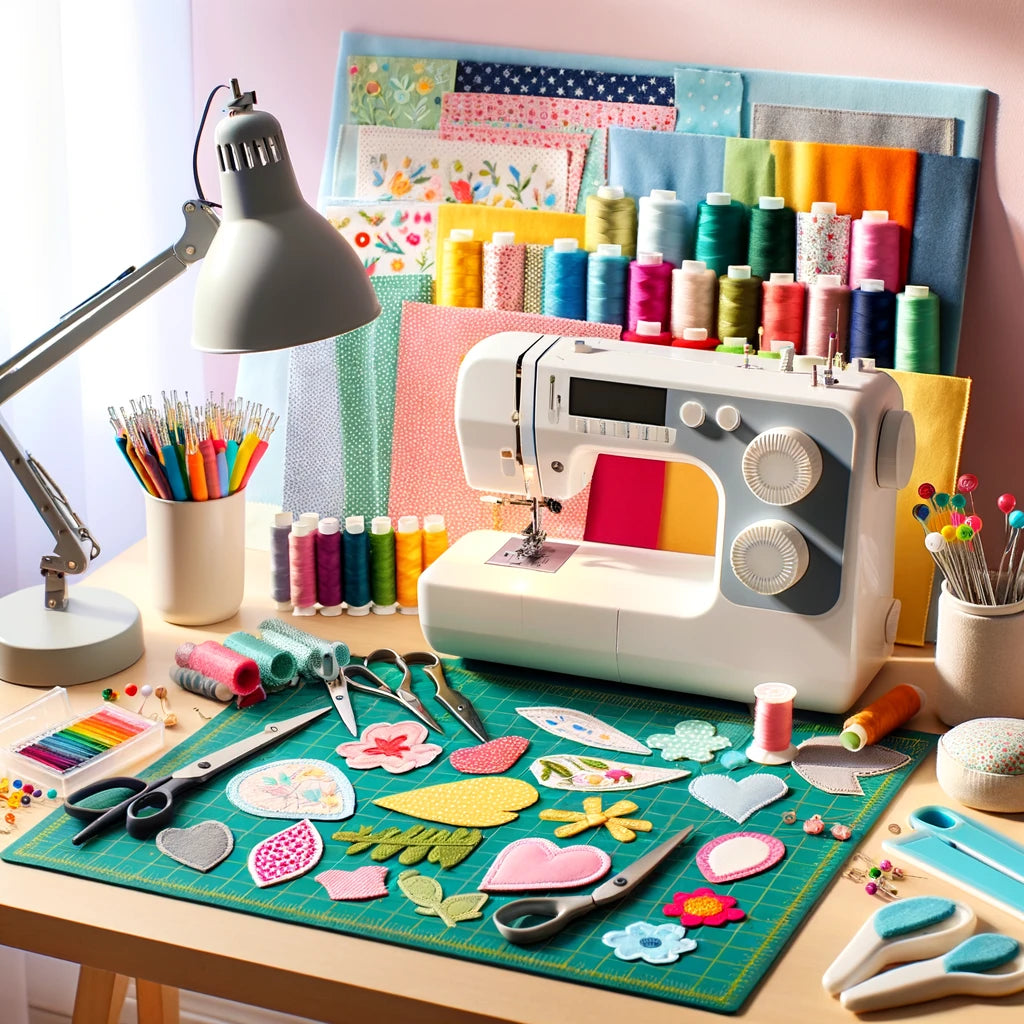
Before you begin, it's important to gather the right tools and materials to ensure success:
- Base fabric: This will be your project's foundation. Choose a stable, non-stretch fabric like cotton, which is easy to handle.
- Applique fabric: These are the fabrics you will cut into shapes and sew onto the base. Opt for contrasting colors or patterns to make your design pop.
- Adhesive: Products like double-sided fusible web or temporary fabric glue help hold your applique pieces in place as you sew.
- Threads: Select threads that either blend in or contrast with your fabrics, depending on the desired effect.
- Needles and pins: For hand applique, fine, sharp needles work best. For machine applique, ensure your machine is fitted with an appropriate needle.
- Scissors: Invest in a good pair of fabric scissors for precise cuts.
- Templates: You can create templates from paper, cardboard, or purchase pre-made ones.
Choosing Your Applique Method
There are several applique techniques, each offering a different aesthetic and level of difficulty. Two popular methods for beginners include:
-
Raw Edge Applique: This method involves stitching around the raw edges of your fabric shapes, which is faster and ideal for casual projects or designs that benefit from a slightly frayed edge.
-
Turned Edge Applique: This more traditional method involves folding the edges of your fabric pieces under to create a smooth, finished look. It's more time-consuming but results in a very polished project.
Step-by-Step Guide to Applique
Step 1: Design and Template Creation
Begin by choosing a simple design that resonates with your project's theme or purpose. You can draw your own design or use pre-made templates available online or in crafting books. Once you have your design, trace it onto cardstock or thick paper to create a durable template. This template will help you achieve consistent shapes throughout your project.
Step 2: Prepare Your Fabrics
Select your base fabric and applique fabrics. For the base, a stable, non-stretchy fabric like cotton works best, especially for beginners. Your applique fabrics can be more varied, including different colors and textures to add interest to your project. Press all fabrics with an iron to ensure they are smooth and free from wrinkles, which makes tracing and cutting more accurate.
Step 3: Trace and Cut
Use a fabric marking pen or pencil to trace your template onto the wrong side of your applique fabric. If you're using fusible web, apply it to the wrong side of the applique fabric before tracing. This web will help secure the fabric pieces to the base fabric before sewing, preventing them from shifting. Cut out the applique shapes carefully, following the lines you've traced. Sharp scissors are crucial here to ensure clean, precise edges.
Step 4: Arrange and Secure
Lay out your base fabric on a flat surface, and arrange your cut shapes into the desired pattern. Take your time with this step, as the arrangement will determine your project's final appearance. Once satisfied, you can either pin the pieces in place or use a light application of fabric glue or the iron-on adhesive from the fusible web to secure them. Ensure each piece lies flat and is properly aligned.
Step 5: Stitching
For raw edge applique, set your sewing machine to a medium-width zigzag stitch. This stitch will encase the raw edges of your fabric pieces, preventing fraying and providing a decorative edge. Sew around each piece, taking care to keep your stitching even and just on the edge of the fabric. For turned edge applique, fold the edges of your fabric pieces under using a needle or small tool for precision, pin in place, and stitch using a straight or slip stitch, either by hand or with your machine. This method is more time-consuming but results in a very clean, professional-looking finish.
Step 6: Final Pressing and Embellishments
Once all pieces are securely attached, remove any remaining pins or markers. Give your entire project a final press with an iron, which helps set the stitches and gives the applique a neat appearance. If desired, add embellishments such as embroidery, beads, or buttons to enhance the texture and depth of your applique work.
Additional Tips
- Test Fabric Combinations: Experiment with different fabric combinations on small samples to see how they look together and how they handle during sewing.
- Double Check Settings: Always double-check your sewing machine settings before beginning to sew on your project to avoid any mishaps with stitch size or tension.
- Stay Patient: Applique requires precision and patience, especially when working with complex designs or delicate fabrics. Take your time, and enjoy the process of creating something by hand.
Tips for Success
- Start Simple: Choose straightforward designs and fabrics that are easy to handle.
- Practice Makes Perfect: Experiment with scraps of fabric to get comfortable with the technique.
- Stay Creative: Once you're confident, try mixing different fabrics and textures to create unique pieces
- Practice on scraps: Before starting on your actual project, practice your chosen applique method on scrap fabric. This will help you get a feel for handling the fabric and the sewing machine.
- Stay patient and enjoy: Applique can be a meditative and rewarding craft. Take your time, and enjoy the process of seeing your design come to life.
Applique is more than just a sewing technique; it's a form of art that lets you transform simple fabrics into intricate designs. With patience and practice, you'll find that the world of applique is full of creative possibilities. So grab your materials, and let's stitch up something beautiful!
